Friday, 15 June 2018

Gertie's Rita Blouse-Version Two


This is my second Rita Blouse and this version is made in a silky viscose. I'm so in love with this pattern! Why? I never thought for a minute that I had the skill set to construct it, and I can't believe it actually fits on the bust, waist and hips. I've put on a bit of weight since recovering from PTSD and it's only now I'm well enough to do something about it; practising yoga.

Anyway, this material came in the very first subscription box I purchased from Sew Hayley Jane. A fabulous box I'm still subscribing to one year on.

This top is a lot lighter and wispier than the cotton version, the fabric is soft to the touch and has a lot more drape than the first version. It was also harder to manipulate when sewing, due to its silky texture; I had to fight to stop it from slipping out from under the presser foot. However, this isn't a grumble, more of a learning curve for next time; slow and steady wins the day.  With this being my second attempt at constructing this blouse I found it easier to place the pieces together. The bust came together quickly and the zip was simpler to fit. And now that I've printed and cut out the pattern, there is really no stopping me. I will be making more of these in the future.

So, what am I going to wear this one with? I did try it on with denim, but it just didn't go.  It looked a bit too dressy. Then I tried it on with trousers and it looked pretty amazing.  So, I think it has to be tailored trousers rather than jeans. Which is a shame because it probably means I'm going to wear it less. Being an Early Years Educator and doing the power dressing thing, doesn't really work. Especially when you end up with little paintie hands on your legs, arms and sometimes your butt. Yes, many a time I've walked round my local supermarket with a little handprint on the seat of my trousers and I've not noticed until I've made it home. Lol!

What do you think denim or dress trousers?


Monday, 7 May 2018

Gertie's Rita Blouse- Version One


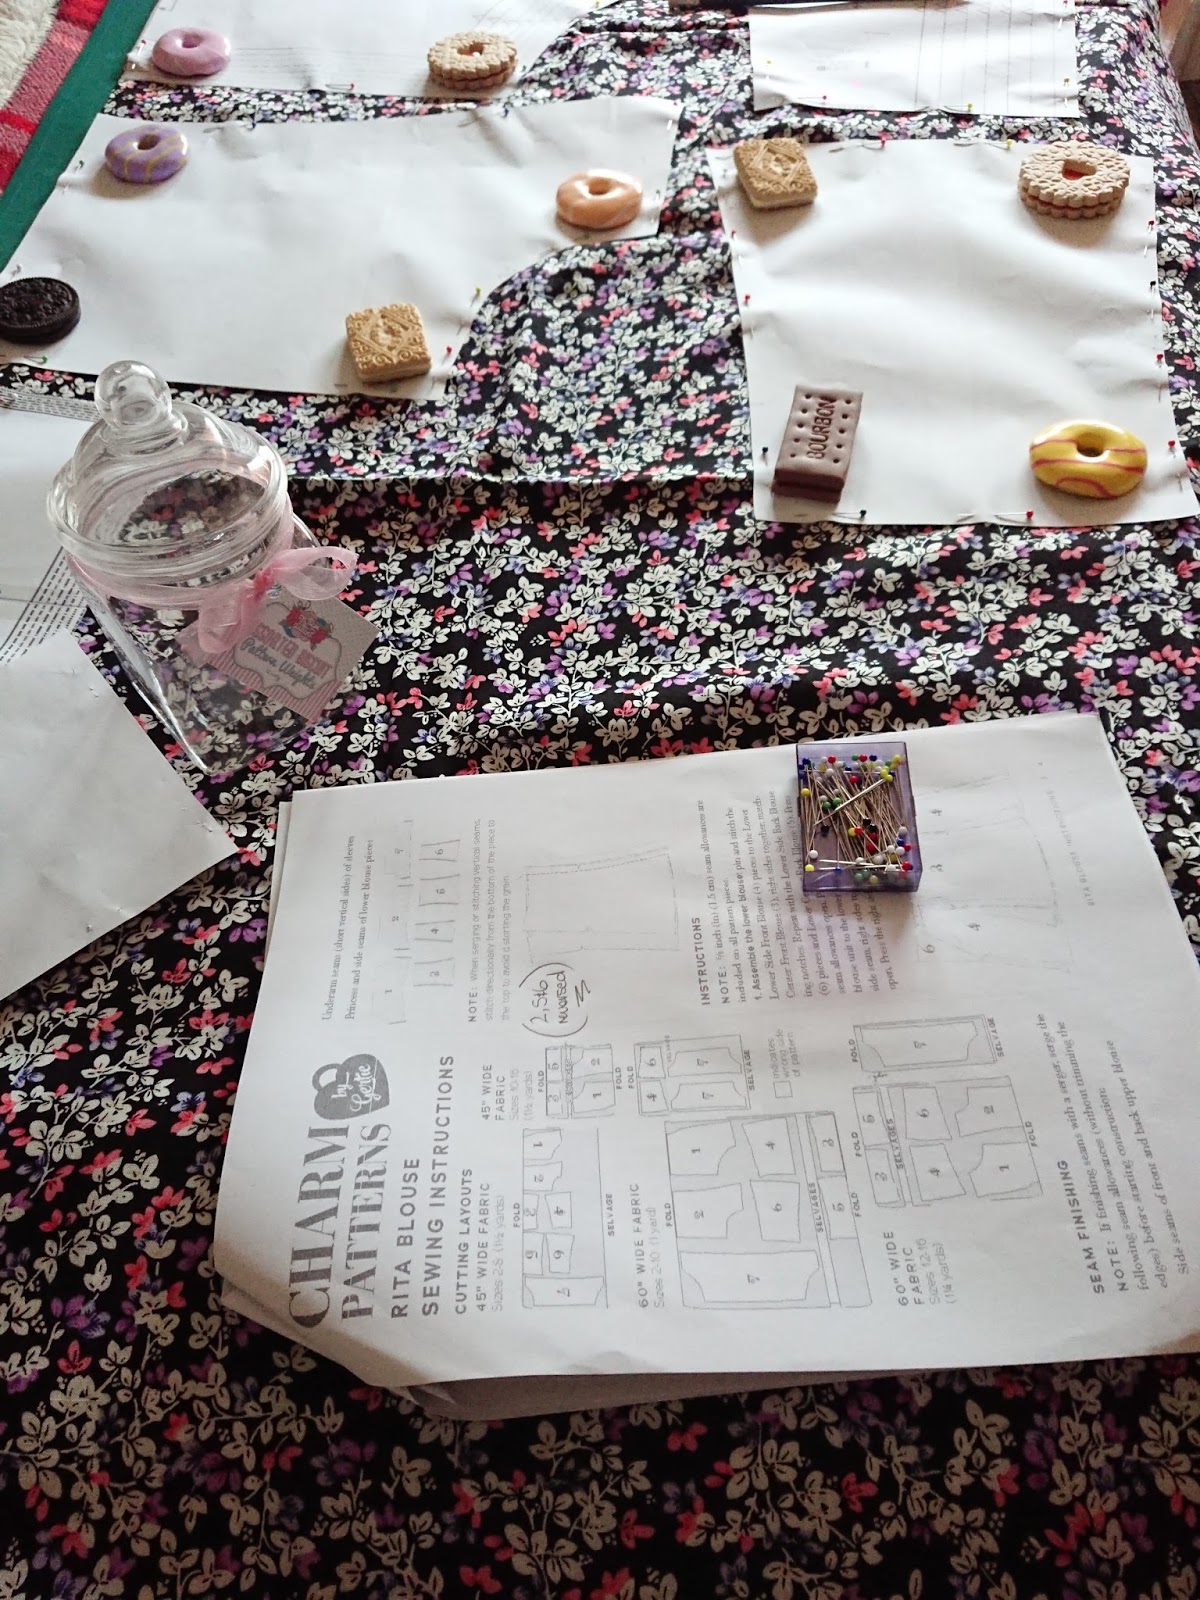
I eventually plucked up the courage to purchase the pattern, after seeing the finished tops on a friends blog.  I have wanted to make this pattern for a long time, but I never thought my skill set would allow me to complete it.  It did, however, take me a whole month to talk myself into starting said pattern (I printed it in draft mode, to save ink, and then cut the pattern out and then paper clipped it together and left it lying) it then took more weeks of umming and ahhing about the best fabric. In the end, I decided on a beautiful red (my favourite colour) cotton poplin; fabric that I had received in my Sew Hayley Jane subscription box, last year. I then grabbed the pattern and the fabric and set about laying out and pinning the pieces in readiness of cutting it out. Then a funny thing happened as I was laying out the pieces I noticed that number 2 of 7 was missing, I was positive I had printed the pieces, as I had highlighted not only the written instructions but the pattern pieces too (the pattern comes in different dress and bust sizes, but not all the files need to be printed off). Do you believe in fate? Because I do! I noticed as I was scrolling through the files to print my missing piece, that the three parts I had already pinned to the fabric were facing the wrong way, the pattern required the pieces to be placed face down. Imagine if I’d not noticed and just cut all the pieces out. The only saving grace in this scenario is, I had tonnes of fabric left over after cutting out, so, the three pieces could have been cut out again. 

Anyway, let’s look at the construction of the piece; there are six bodice pieces; three panels each for front and back, a bust and back piece and two sleeves. The construction of the bodice advised using princess seams (a technique I’d never used before) you can see it being used here. The pattern also stated an overlocker was also adequate, this is the technique I used. I was curious about the princess seams though,  hence the link to the video. The princess seam or overlocker seam stabilises the fabric and allows the material to be manipulated into more of a curve or fuller piece. Without being stabilised the fabric would essentially go baggy. Think of the curves of a woman's lower half, and how the waist skims out as you move down the body to the hip. This is principally the shape we are making with the pattern. Isn't that so cool! I have to admit when I first looked at the pattern I thought 'why does it need so many pieces?' Now I know. I'm learning something new every day.

The bust and back construction used a technique that I had used before on my gypsy swing top; the two lines of machine running stitch to achieve gathering. This was super easy. I then jumped in to do the zip. This initially took a lot of head scratching until I realised I was trying to put the zip in the wrong way.  I also couldn't find my invisible zip foot and when I did find it, it didn't fit my Janome*, even though it's meant to be universal.  I ended up using a regular zip foot and ripping out the stitching two or three times, as it wasn't close enough to the teeth. I got there in the end.

Then I jumped straight into the sleeves. Relatively easy fitting them in, and then the fun part; threading the elastic. I was able to ruche the sleeves on my own, but Paul helped me with the neckline.

All in all a fantastic pattern, easy to follow, clear instructions and a beautiful end result.

*I also found out my Brother machine has a low shaft, while my Janome is a high shaft. The snap fitting is also a whole 1mm bigger, sigh, on the Janome, this is the reason the universal feet don't fit (sad face).

Friday, 27 April 2018

Venus Kimono


I've been sticking to my good intention of sewing some beautiful clothes, and I'm having a ball. To date, I've made four new garments, not bad for someone who would leave their machine sitting for months on end without lifting the cover off to use it.  My first non-clothing make was pyramid pattern weights; I've always wanted to make these but was never sure if I would actually use them. As you can see from the photos, I'm getting quite a bit of use out of them, but still using pins as a security measure (just humour me, pleasssee lol!)  This leafy grey georgette material from Sew Hayley Jane is being made into the Venus Kimono by Annie from Sew This Pattern.  This kimono was constructed from three large pattern pieces. All the main sewing consisted of French seams (a process I'd never tried before.) I found these very nerve-racking to complete, but after sewing a few,  I settled into the technique easily. The second technique that was new to me was a rolled hem. I found this extremely hard and fiddly, even though I was using a rolled hem foot. The foot just wanted to suck up more material which resulted in a puckering effect. The slippery material I was using didn't help one bit, but I persevered, and the result was stunning. Oh, before I forget,  if you ever get a chance to buy one of Annie's patterns, please do as they are awesome; they are fantastic to follow, they have clear instructions and are just a dream to construct. This is the first pattern I have purchased from her, and I've gone on to buy two other styles (I will blog about these soon). 

Sunday, 22 April 2018

Nadine Blouse


A bit of eventful sewing today I couldn't put my collar in. Don't know what happened but I was a whole inch out.  This was before I'd even started on the cider.  Eventually, I realised my mistake; I had cut the piece too small.  (Edit: after going back and looking at the pattern again it seems I did cut out the right size. So odd it would be a whole inch out). So, with no more material left* I had to patch the back of the collar (7th picture) not ideal, but hopefully, no one will notice. Then, I noticed my mannequin was leaning to one side, think she's been sneaking my drink. Managed to rectify her, and straighten her out. Nearly finished just buttons, hem and armholes to do.
*The retailer of the fabric messaged me to ask if I would like extra material to fix my collar. I kindly declined, as I had already patched the collar, and couldn't face taking it off again. Thank you Adam Ross Fabric for the kind offer. 

Bumblebee Top


Boy, this material has been sitting in my stash for what seems like forever (actually only a year, but that's long enough).  So why was it sitting so long? Well, sometimes I go through this rigmarole of loving a print too much, that I then become scared of cutting into it because I think I'm going to muck it up. I know, stupid right? Well, this very fabric had that effect on me, hence why it stayed out of harm's way until a suitable pattern came along. So, a year later that pattern did indeed come along! Say hello to the perfect pattern the Gypsy Swing-top by Annie of Sew This Pattern. I knew as soon as I saw the pattern that the bumblebee fabric would be ideal.  So armed with the pattern and my one metre of fabric, yes, I was going to try and squeeze this pattern out of one metre, and I nearly got away with it.  I even dropped down a dress size; well, I need to lose weight anyway was my thinking. But even dropping the dress size, I just couldn't squeeze the bias out of the length for the armholes or the ties at the back. I did think about using navy bias binding (shop bought) except, I think deep down I knew that was going to look naff.  Now, I didn't buy this material it was gifted to me through a swap.  I wasn't even sure the print was still available, and yes, I had cut out all the other pieces.  So, I thought why don't I do a search online and see what comes up.  First half an hour I felt deflated, everywhere I tried it came up 'NOT AVAILABLE'.  I was ready to give up and go down the road of shop bought bias when I thought why not try eBay and see what that brings up.  Well, I found one lone seller with cream, pale blue and a grey version and then I saw a navy version. They had one metre of the navy in stock, so I snapped it up. I wasn't even sure if that was going to be enough (I just felt smug that I'd actually found some, go me!) we are talking about cutting something on the bias here, weird angle and all.  Anyway, to stop me stalking the postman, I set about sewing up to the point where I would need to put in the bias (the whole time I'm sewing, I'm thinking please let the metre be enough, please let it be enough, please). Well, as you can see from the pictures the metre of fabric was indeed enough.  Looking at the top now I think using the same material instead of shop bought bias was the way to go. And, do you know I was also pleasantly surprised when I pulled the top over my head to try it on, because even though I dropped down a dress size the top does fit me, perfectly, and it will look even better when I lose some weight.  It was fate I tell you, fate. It was meant to be!
Oh! Before I forget here is a quirky little piece of information about me.  When I'm sewing, I nearly always tack or baste hems and other pieces together first before machining.  The weird part though; I have to use red thread, no other colour will do.  It has to be red (did you spot it, in the photographs?